Import File Changes Page
See also: Import File Changes Tool
For source code and text files, you may review the changes, line by line before importing them. The new version of the line (in the file being imported) is marked in green and the old version (the current version in change control) is marked in yellow.
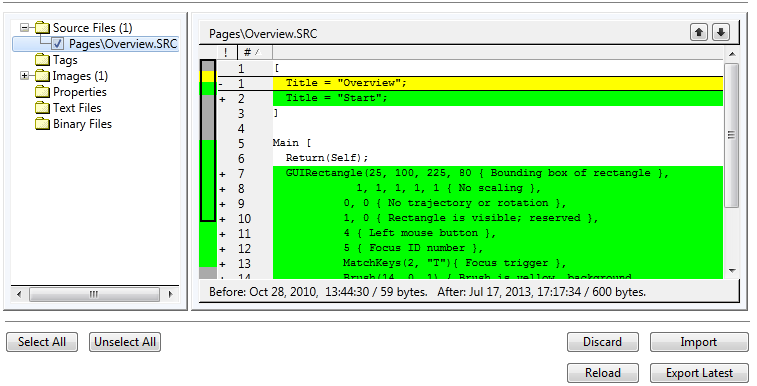
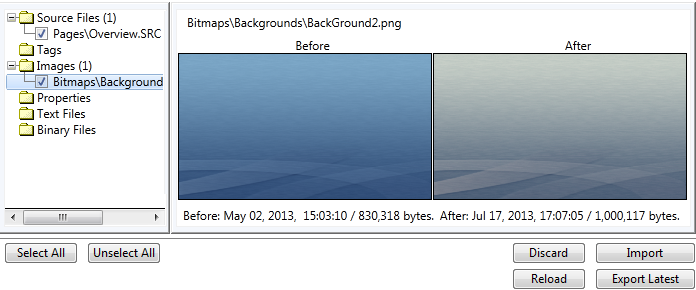
Image files are compared on a side-by-side basis.
You should always review all the changes within a file before importing it into your application.
Review changes before importing:
- Open the Application Configuration dialog.
- Click Import File Changes.
- Look for categories of files with plus signs.
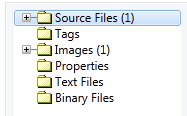 The plus sign and the number beside the category name indicate that new or changed files were found.
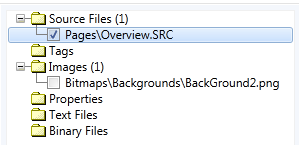
- Expand the category to view the file(s).
- Click on the name of a file to examine. Changes are highlighted as shown at the beginning of this topic.
Check marks beside the file names indicate which files to include in this operation.
- Open the Application Configuration dialog.
- Click Import File Changes
- Examine the changes within the files you intend to import.
- Click to select each file to import. You may use Select All to speed this process.
Only files indicated with a check are imported.
- Click Import.
After reviewing changes, you may decide to not import them. In this case you may wish to replace the contents of the file with whatever is in use within your application.
- Open the Application Configuration dialog.
- Click Import File Changes.
- Click to select each file to discard. You may use Select All to speed this process.
Only files indicated with a check are discarded.
- Click Discard
The file on disk are replaced by the current version in the application's repository.
Export latest (VTScada changes to files):
Export Latest will merge changes from VTScada into the file on disk. In normal operation, this is done automatically, but the button exists to allow you to force a merge.
The user copy file is not overwritten by VTScada, but changes made in VTScada are merged into that file. Changes within that file that have not yet been imported are preserved. Conflicts are reported on a line by line basis if they occur.
- Open the Application Configuration dialog.
- Click Import File Changes.
- Click to select each file to discard. You may use Select All to speed this process.
Only files marked with a check are discarded.
- Click Export Latest
The file on disk is updated with current version in the application's repository.
Troubleshooting:
- Your edited file is not listed in the Import File Changes menu.
Ensure that edits are saved.
Click Reload to refresh the display.
- A file you copied to your application folder with the intent of adding it to the application is not found.
Files with extensions that are common to other programs, such as .DOC, .XLS, .TXT, etc. are ignored. If needed, they can be added using the File Manifest. (Maintain the File Manifest)
- An error message reports a conflict.
Review the conflict using the Version Log and a text editor. Depending on whether the changes in VTScada or in the file should have priority, you may edit the file to resolve conflicts, use the Import button, or use the Discard button.
